Scanning
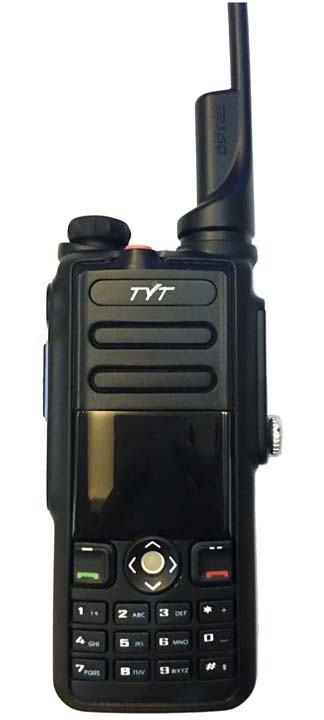
TYT MD-2017
DMR Transceiver
by: John 'Miklor'
July 2017
| This procedure is to assist with the set up of Scanning with the MD2017. |
|
Scan List
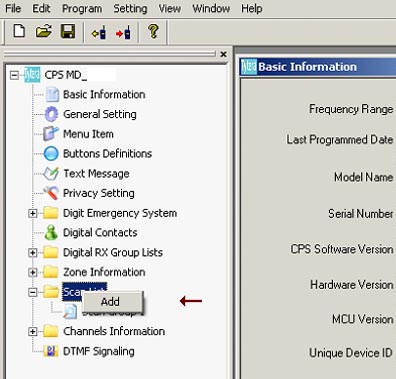
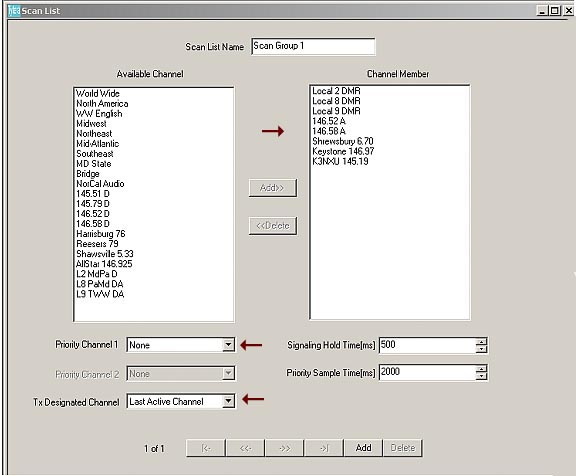
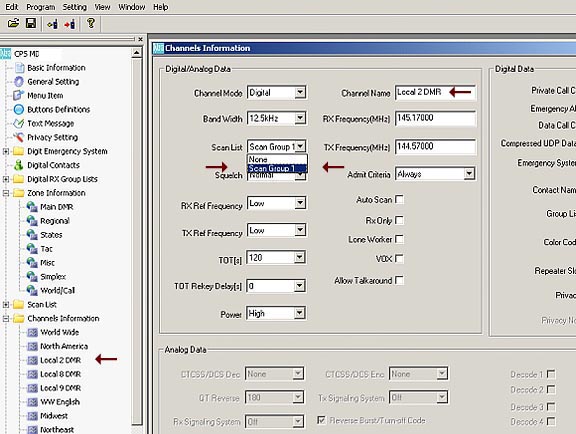
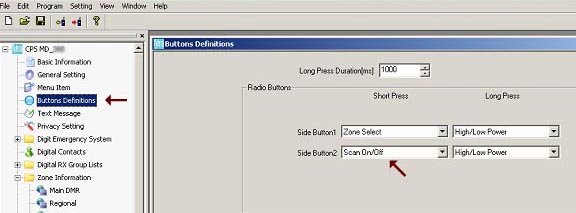
This is a list containing individual Scan Groups. Each Scan Group contains a list of channels that will be scanned if that group is part of a channel's information. Channel Information There is a field in each channels setup called Scan List. This is where a specified group to be scanned is assigned to that channel. What channels get Scanned Whenever your current channel has a scan list assigned, and you select the radio's SCAN function, the group assigned to that channel will be scanned. The red LED will flash to indicate that the radio is scanning. - If your current channel has no scan list assigned, your radio will not scan. - Adding a Scan Group to a channel does not add that channel to the Scan Group. It only assigns a group to be scanned. - Selecting scan does NOT select other channels in your current zone unless they are also assigned to that scan group. Let's get started... Creating a Scan List The first thing we need to do is select the channels we want to scan. From the main menu, Right click on the Scan List tab. Click on the 'Add' tab, and create a Scan List name.
|


BTECH  DMR6X2 PRO Dual Band (Review) Anytone 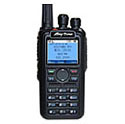 D878UV II+ Dual Band (Review)  D578UV Series Mobiles Hotspot  SkyBridge MAX (Review) Ailunce  HD1 / GPS (Review) Amplifiers  BTECH DMR Amps UHF VHF (Review) Repeaters  Ham / GMRS Commercial Repeaters Duplexers |